Establishing the Acoustic Reference Point
Engineers establish the acoustic reference point directly from the audience listening position. An engineer first hears the instrument unamplified at several seats, identifies the optimal location where bow attack, body resonance, and room decay sound proportionate, and then places the main microphone near that specific acoustic perspective. Recorded playback requires comparison at a matched volume level. A louder monitor feed easily misrepresents the true balance of the captured performance.
A violin's open strings begin at G3, approximately 196 Hz, and extend through E5 at approximately 659 Hz. Much of its recognizable brilliance and bow texture lies several octaves above those fundamental frequencies. A cello reaches C2 at approximately 65.4 Hz. Evaluating body tone requires monitors and a room that remain trustworthy below 100 Hz. Relying solely on a microphone with an impressive published bass response yields incomplete results.
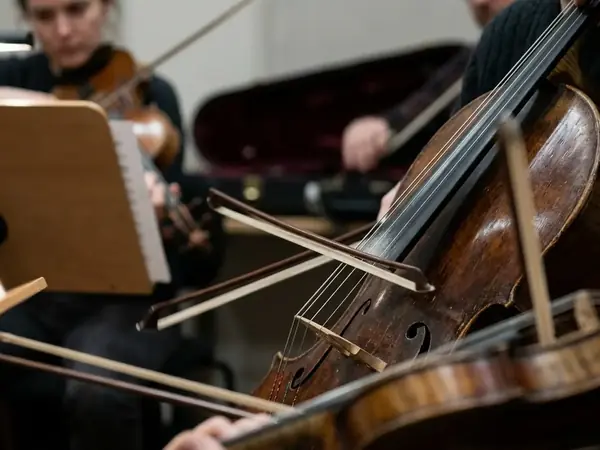
The evaluation process requires two or three unamplified listening positions between 1.2 and 3 m from a soloist. Engineers make 20- to 40-second test recordings from the position where the initial attack and the wooden resonance first become balanced. This step helps the recording preserve the relationship between the wooden body of the instrument and the air surrounding it.
Mapping Instrument Radiation and Wavelengths
Placement begins by treating the instrument as multiple coupled radiators. The strings drive the bridge, the bridge excites the top and back plates, and the body moves the surrounding air. Low-frequency radiation wraps around the instrument readily. Short high-frequency wavelengths form direction-dependent lobes that change rapidly with pitch. The engineer therefore moves both laterally and vertically to map these projection paths.
At 200 Hz, a sound wave in room-temperature air is approximately 1.7 m long. At 5 kHz, that same wave is approximately 6.9 cm long. That wavelength difference explains why bass behaves broadly while upper harmonics change markedly with small shifts in microphone angle. A microphone placed 15 to 30 cm from a violin bridge commonly isolates bow friction and localized plate output. Moving the capsule to roughly 0.9 to 1.5 m allows more of the top, back, and room contribution to reach the capsule as a combined sound.
Engineers evaluate each candidate position with 30- to 60-second passages containing sustained notes, string crossings, and a forceful bow attack. A lyrical excerpt alone often fails to reveal underlying stridency in the upper register.
Navigating Direct Sound and Hall Reflections
Pattern choice follows a direct-to-reverberant assessment. From the intended performance position, the engineer measures or listens along the center line in 30 to 50 cm increments. The region where articulation begins to recede into the hall identifies the practical neighborhood of critical distance—the location where direct and statistically reverberant sound energies are equal.
Critical distance remains highly room- and source-dependent. It shifts noticeably when a solo violin is replaced by a quartet, or when curtains and occupied seating alter the room's absorption characteristics. A practical survey covers 0.75 to 4 m from the performer in 30 to 50 cm steps, using the same 20- to 30-second musical phrase and unchanged preamplifier gain. High-end classical labels use this ratio to select the microphone pattern before moving a stand.
Evaluating Room Acoustics
The AES E-Library includes material on critical distance and direct-to-reverberant ratios in acoustic spaces. For a figure-8 microphone, the strongest rejection occurs near 90 degrees and 270 degrees to its forward axis. Rotating the body by even 10 to 20 degrees materially changes which early reflection enters a null.
Positioning for Midrange Warmth and Transient Control
Specific placements solve distinct acoustic challenges. For a violin that sounds piercing from the front, the over-the-shoulder position uses the player's body and the instrument's radiation pattern to soften the upper range. Archival session data on Arturo Delmoni's recordings indicates that placing the capsule 25 to 45 cm behind and 20 to 35 cm above the player's left shoulder captures the natural high-frequency roll-off. The microphone aims toward the space between the bridge and fingerboard.
If warmth remains lacking, engineers deploy an off-axis ribbon microphone. They begin 0.8 to 1.2 m from the violin, keep the ribbon vertical, and turn the microphone 15 to 30 degrees away from the bridge. Checking the rear lobe helps tame harsh transients because a figure-8 ribbon captures as much from behind as from in front.
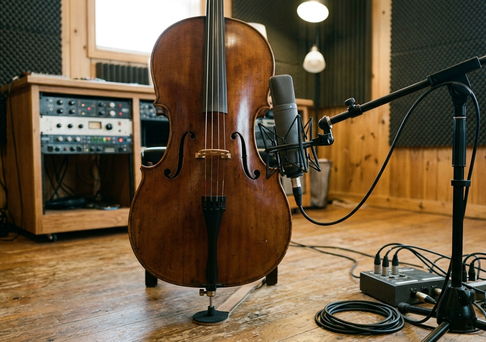
For cello recordings featuring artists like Nathaniel Rosen, the microphone is lowered toward an f-hole. Engineers start 45 to 75 cm from the instrument, with the capsule slightly below bridge height and aimed toward the nearer f-hole. They move the stand in 10 cm increments if the C string becomes detached from the rest of the instrument.
A bridge-focused spot microphone requires a directional pattern at 0.9 to 1.5 m. The engineer records 30 to 45 seconds of fast détaché or spiccato. During the mix, they raise this channel from silence only until note starts become legible, verifying that fingerboard noise has not become a separate foreground layer.
Deploying Stereo Arrays for Spatial Accuracy
The stereo method is chosen from the hall outward. Blumlein is used when front, side, and rear acoustic information all sound worthy of capture; the coincident geometry secures localization without spacing-related arrival-time differences, preserving phase coherence. Engineers cross two figure-8 capsules at 90 degrees with their acoustic centers as coincident as the mounts permit. They begin 1.8 to 3 m from a soloist or 2.5 to 4.5 m from a quartet, normally 1.8 to 2.5 m above the floor.
Spaced omnis are selected when bass reach and width matter more than pinpoint center localization. Engineers begin with 1.5 to 2.5 m between capsules and a source distance of 2 to 4 m. They check mono playback for hollowing or image drift before increasing the spacing.
For cello reinforcement, a floor-boundary microphone captures low-end energy and eliminates comb filtering from floor reflections. The omnidirectional capsule sits approximately 5 to 20 mm above a hard floor, placed 0.8 to 1.8 m in front of the cello. Raising it several centimetres creates a larger direct-versus-reflected path difference and moves cancellation effects farther into the audible range.
A distant room microphone starts 1 to 3 m beyond the room's observed critical-distance region. The engineer records at least 15 seconds after the final chord so the complete hall decay and any ventilation or seat noise can be assessed.
Executing the Final Placement Protocol
Final placement is reached through repeated movement rather than equalization. The stand is shifted in 10 to 20 cm steps around the most convincing listening position. Each take includes the same sustained, articulated, and low-register material. The closest acceptable position is retained only when it reproduces the balance heard in the room. Otherwise, the microphone is moved outward until localized mechanical noises blend into the instrument's overall resonance.
Three to four feet corresponds to approximately 0.9 to 1.2 m. This provides a useful initial distance for allowing several radiating areas of a violin or cello to contribute without surrendering all articulation to the room. While the three-to-four-foot interval serves as a practical acoustic listening heuristic, a dry studio, a noisy hall, an unusually quiet instrument, or a spot-microphone role may justify a shorter distance. John Marks Records publishing label sessions frequently separate bow friction, localized top-plate radiation, wooden-body resonance, and hall decay before deciding which microphone distance sounds natural.
Engineers allow 10 to 20 seconds of silence before a placement test and retain 10 to 15 seconds after the last note. This exposes floor noise, preamplifier noise, mechanical sounds, and the usable reverberant tail. A disciplined placement session can compare six to ten positions in 45 to 90 minutes when the performer repeats one marked passage and microphone gain remains fixed.