What exactly transforms a technically flawless violin performance into an audiophile-grade recording that captures the true resonance of the instrument? The question sounds precious until you sit with two recordings of the same player and hear one collapse into thin, glassy pitch while the other breathes.
Technical perfection is not enough. The violin exposes recording choices faster than nearly any other instrument, and a clean pitch can still arrive without body, without air, without the sense that a physical object is vibrating in a real space.
The Acoustic Challenge of Capturing the Violin
The instrument's open strings begin at G3 near 196 Hz and rise through E5 around 659 Hz. That range is the easy part. The perceived brilliance and bite — the qualities that make a recording feel alive — come from overtones, bow friction, and body radiation extending into the 4 kHz to 12 kHz region.
This is where recordings go wrong. Upper-register passages on the E string turn brittle when a close microphone emphasizes the 6 kHz to 9 kHz band, especially in a room that contributes little natural decay. The signal is accurate. It is also unpleasant.
Decay matters more than most engineers admit. A dry studio with a reverberation time in roughly the 0.3 to 0.6 second range makes sustained notes seem to stop abruptly, as though the bow were yanked off the string. A sympathetic chamber space in about the 1.4 to 2.1 second range lets the harmonic tail remain audible after the bow changes direction, and the listener perceives continuity rather than a series of clipped events.
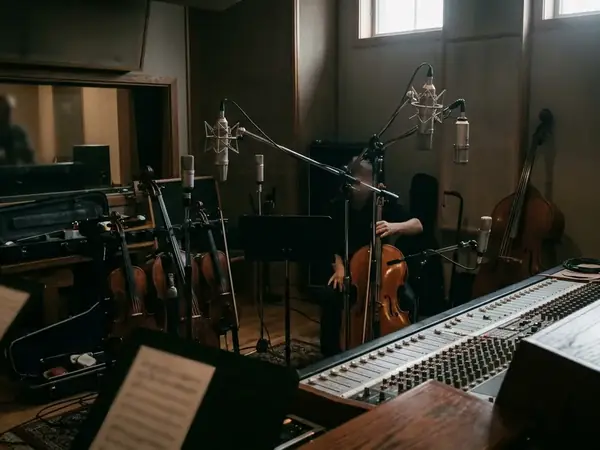
Isolation practice complicates this further. Commercial sessions often place a directional microphone roughly 20 to 45 cm from the bridge or f-hole area. That distance captures articulation and rosin texture beautifully, yet it can flatten the believable distance between instrument and listener. The result is detail without scale. The physics of these overtones, incidentally, are worth understanding directly through the physics of violin resonance.
Analyzing the Stylistic Fingerprints of the Artist
A player's style is best understood as a chain of observable choices, not a vague personality trait. The listening path begins with the bow attack, because that is the first transient the playback system has to reproduce.
Bow attack and release
A firm martelé-like attack reveals a compact leading edge in roughly the first 20 to 60 milliseconds of the note. A softer détaché arrives with a slower pressure ramp and less audible scrape before the pitch stabilizes. On a resolving system, you can hear the difference between a player who lands on the string and one who eases into it.
Vibrato as signature
Vibrato on sustained lyrical notes commonly falls in about the 5 to 8 cycles-per-second range, with width varying from narrow color shifts to expressive pitch shading. High-fidelity playback makes the distinction between fast-narrow and slow-wide vibrato far easier to identify. Where careful listening to a violinist such as Arturo Delmoni rewards patience, the finding is that vibrato width is often the single most reliable identifier of a performer.
For serious comparison, choose a roughly 60 to 90 second passage containing at least one sustained phrase, one bow change in a quiet dynamic, and one forte arrival. That is long enough to expose habits without overwhelming short-term memory.
Dynamic range is the last fingerprint. Uncompressed string recordings can leave about 15 to 25 dB between quiet connective tissue and emphatic phrase peaks. That gap is where breath, shoulder movement, and bow redistribution become genuinely audible rather than merely implied.
The Interplay Between Instrument and Microphone
Listeners frequently confuse instrument identity with microphone technique. The two deserve separation.
A robust, darker violin presentation concentrates attention in the 200 Hz to 500 Hz body region. A brilliant, projecting presentation draws the ear toward the 2 kHz to 4 kHz presence region and the upper harmonic sheen above it. This is the broad contrast between the darker, muscular voice associated with a Guarneri and the brighter, projecting tone associated with a Stradivarius.
The distinction between "wood" and "string" usually appears just after the initial transient. String sound is the immediate bow-hair grip and pitch edge. Wood sound is the lower-body resonance and delayed bloom that follows roughly 80 to 250 milliseconds later. A varnished, aged body interacting with a live room produces a composite decay: first the string speaks, then the plates radiate, then the room returns a softened version of the tone from the sidewalls, ceiling, and rear volume.
Minimalist miking and its limits
Minimalist omnidirectional placement for solo violin commonly begins with the main pair about 1.5 to 2.5 m from the player, about 1.8 to 3.0 m high, and spaced roughly 40 to 70 cm apart, then adjusts in small increments to balance image size against room bloom. This technique preserves phase coherence and timbre with remarkable fidelity.
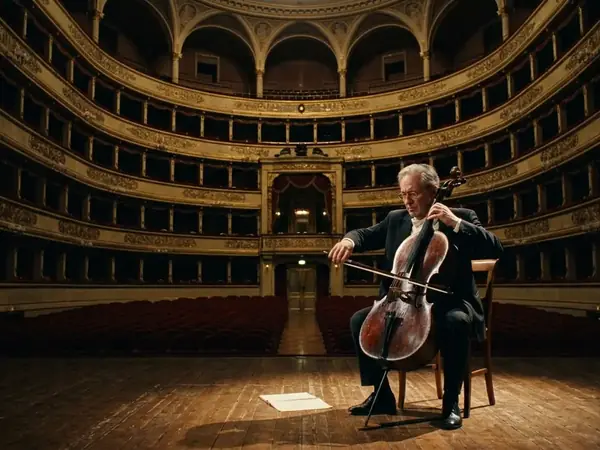
Note: This approach depends entirely on the venue. Minimalist omnidirectional miking can preserve phase and timbre in a strong acoustic space such as a historic church or dedicated concert hall, but it cannot rescue a dry studio capture that lacks natural decay at the source. Instrument reputation should never be judged apart from microphone distance and venue. A brilliant instrument in a warm hall may sound more balanced than a darker instrument captured too closely in a damped room.
Consider the failure case directly. A close, dry studio recording with the microphone about 15 to 20 cm from the bridge can sound highly detailed on an expensive system while still failing to convey the violin's body and room scale. Detail is not the same as presence.
How to Optimize Your System for String Performances
String reproduction problems are usually blamed on recordings before anyone checks the room and loudspeakers. The order should be reversed: placement first, then amplifier behavior.
- Start with speakers roughly 0.7 to 1.1 m from the front wall and at least about 0.6 m from the sidewalls. Move them in 5 cm increments while replaying the same violin phrase.
- For solo violin imaging, arrange the listening seat and speakers close to an equilateral triangle, keeping left and right speaker distances to the seat within 5 to 10 cm of each other.
- Adjust toe-in in small steps. Begin with the tweeter axes crossing just behind the head, then move by 3 to 8 degrees if the E string sounds too sharp or the center image spreads unnaturally.
- Treat first reflections in bright rooms with absorbers about 5 to 10 cm thick at the mirror points. Leaving a 5 to 10 cm air gap behind them improves lower-midrange absorption.
Soundstage depth is what lets you pinpoint the violinist's exact position in the room. Small placement changes shift that position noticeably, which is why the 5 cm increment discipline matters.
Amplifier matching
Amplifiers that stay composed into complex speaker loads keep bowed harmonics cleaner. High-bias solid-state and carefully matched tube designs can both succeed, provided the speaker impedance curve does not provoke tonal thinning or excessive warmth. There is no single correct topology here; there is only the pairing that keeps the harmonic structure intact under load.
Quick Tip: Match the left and right speaker-to-seat distances before you evaluate any tonal quality. An asymmetric setup will make you chase problems that live in the geometry, not the gear.
Developing Your Critical Ear
Critical listening improves through a narrowing-and-expanding routine. First you lock onto the fundamental note so pitch and line are stable. Then attention widens to upper harmonics and bow texture. Finally it releases into the room decay after each phrase ends.
Use three focused passes on the same roughly 45 to 75 second excerpt. The first pass follows the fundamental line. The second listens for harmonic color and vibrato motion. The third attends only to room decay after phrase endings. Leave about 20 to 40 seconds of silence between passes so the ear resets and the previous tonal impression does not dominate the next observation.
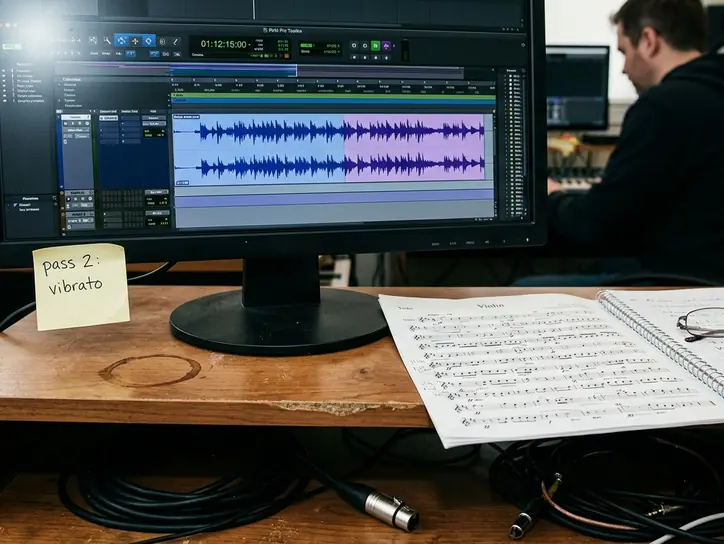
Reliability comes from repetition. Repeat the same excerpt across three listening sessions separated by roughly 24 to 48 hours. The impressions worth trusting are the ones that survive changes in mood, volume, and short-term ear fatigue.
Summary: A useful final test is to reduce playback level by about 3 to 6 dB and ask whether bow pressure, wood resonance, and room return remain intelligible. If they do, your system and your ear are working together; if they vanish, you were relying on volume rather than resolution.
Isolate one variable at a time. Spend a whole session on nothing but the sound of bow hair gripping the string. Another on the delayed bloom of the wood. The habit of single-variable attention is what separates hearing a melody from hearing a performance.
So the next time you sit down with a high-fidelity string recording — perhaps a cello line from Nathaniel Rosen or a violin phrase captured under a sympathetic dome — will you listen merely for the melody, or will you finally hear the wood, the rosin, and the room?